LogoMaker Review & Sample Logo Designs

Education
When you buy through our links, we may earn a commission

LogoMaker Review & Sample Logo Designs

Updated October 28, 2010
2 minute read

I just came across this site called LogoMaker and had to share it with you all here. This is an amazing little website that makes it actually fun and easy to design a professional-looking logo! I am designing a new website and I knew that I needed a great-looking logo for it, but I kind of dreaded the phase of obtaining a logo, because a) I'm clueless about using Photoshop, and b) I know that professional designers can be really expensive, and you may not always be thrilled with the results. That, plus the time is takes to communicate art direction and the back and forth process before getting a finalized logo - well, you know the drill. It's a time-consuming and difficult process characterized by compromise and inefficiency.

Sometimes, I wished I could just do it myself. I have a picture in my mind, and I want to just make that happen. The problem with graphic design software like Adobe Photoshop and Fireworks is that they take a lot of time to learn, and you need very specialized skills to get a great result. I've always wished there were a "Logos For Dummys" tool where anyone could go in, take a picture or image they have in their mind, and create a great looking logo.

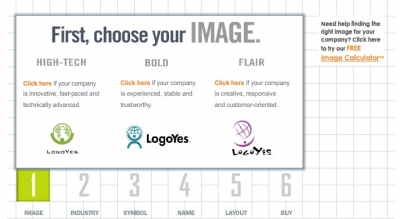
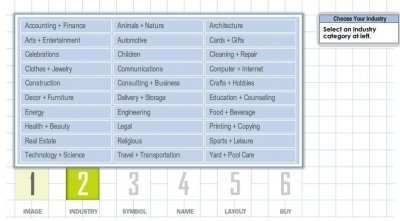
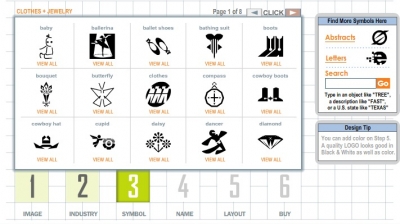
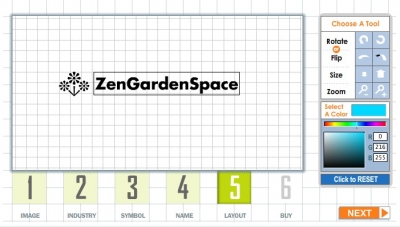
That's when I heard about LogoMaker. It gives you a step by step process where you can choose from different types of logos, such as Tech, or Bold, or Flair, then drill down into specific images and shapes that you think represent your site and brand.

Visit LogoMaker's website

Sample Logos designed on LogoMaker (see more):
How does LogoMaker work? Here's a step-by-step walk-through:
I played with the Tech look and found a cute but futuristic looking flower icon (I'm building a site for people interested in Zen Gardens) and put it together with my site name "ZenGardenSpace" and voila, I had a great looking logo done in minutes. I went back through the process multiple times and played with different versions, and ended up with a great logo. Here's a sneak peek into the whole logo design process:
 
Step 1: Select your overall branding feel / image
 
 
Step 2: Select your business type / category
 
 
Step 3: Select from a wide range of images
 
 
Step 4: Done! You can view your logo on business cards and get the image file for inclusion on your site or other digital files
 
 
All of this took less than 20 minutes, and was fun to do. I surely will use this site for all my future logos. Oh, and it's not too expensive, the whole logo costed me around $70, which is a far cry from what I've paid in the past for professionally-done logos. Let's just say  brand design don't come very cheap. But if it can be automated into a nifty little tool like this, I can't see why anyone would pay a professional unless you have a really big budget to play with (and lord knows that I don't!).
 

Visit LogoMaker's website

 
So there's my blab of the day. LogoMaker is a cute and fun and inexpensive way to get a great looking logo for under $100! Try it out and let me know what you think in the comments here.