How to add Formulas, Tables and other PDF Files into your Factoidz Articles
EducationHow to add Formulas, Tables and other PDF Files into your Factoidz Articles

This article is a step by step approach showing how to create simple math formulas using Microsoft Word 2007. Then taking these formulas (or any PDF file) and using Adobe Photoshop 7.0 to convert it from a saved PDF file into a JPG and successfully insert the picture into your Factoidz’s article.
Microsoft Word 2007 and Adobe Photoshop 7.0 were picked because of their popularity and functional simplicity to use. Both of these are older programs that can be purchased cheaply on such sites as www.ebay.com. Each program can be purchased for under $10 plus shipping.
Let us say one wants to add a formula like  or a more complicated one like
  into your article. Maybe there is a need to add a sophisticated table to your article like
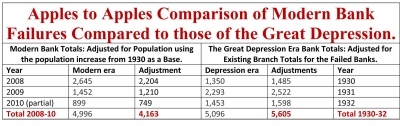
One will need to first create the formula (or table) and save it as a PDF file. Then take that file and open it in Photoshop, crop it, and save it as a JPG file. Once you have it as a JPG file, you can insert it into the Factoidz work area used to create your article.
Let’s start with creating a formula in Microsoft Word 2007.
Step 1: Open Microsoft Word 2007 program. The screen will default to this screen, unless you have changed the default settings.
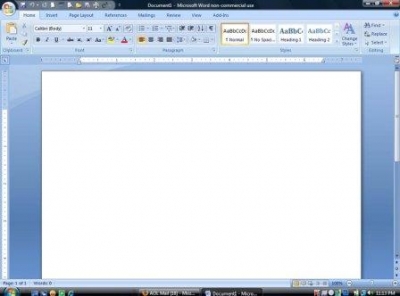
Step 2: Select the Insert Tab on the top
.jpg)
Step 3: Select the equation button on the far right on the top of the screen. It will have the word “Equation” written on it. Press it.
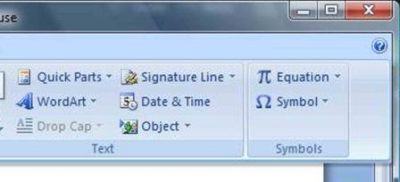
This is the next screen. All the functions are for mathematics with hundreds of other useful symbols.
.jpg)
Step 4: Select the math symbols of interest. In this example the integral symbol will be selected. It is in Yellow below. In the box you can enter Y =.
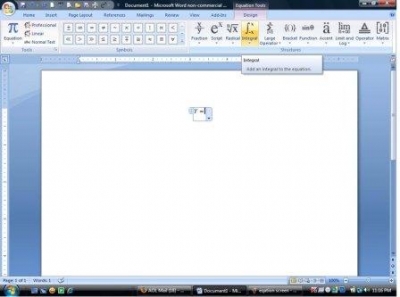
Step 5: Push the integral button.
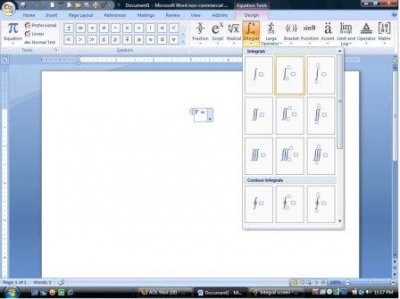
Step 6: Pick the type of integral you need. The next screen will have boxes where limits and other information is entered. Then press enter when done and the equation is complete. In this example, simply save the file as a PDF file then open Adobe Photoshop 7.0 to crop and convert the saved file into a JPG file.
(The remainder of the sample uses a table, but any PDF file could have been selected for the example)
Step 7: Open Adobe Photoshop 7.0 and press the edit button. Then click the “File” on the top of the screen and you will get this screen.
.jpg)
Step 8: Use Open to select a file and open it
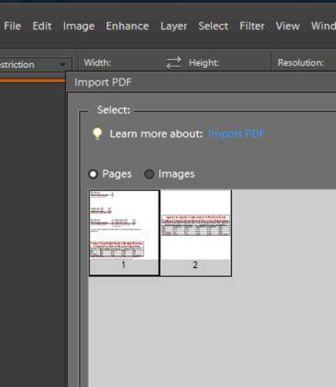
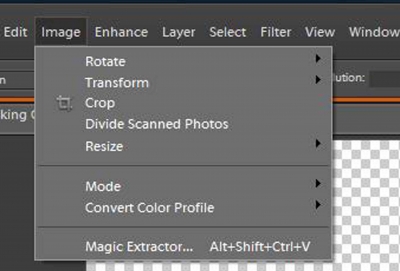
Step 9: Select the page you want. Go to image button and click on it. Select crop from the pull down menu. (To skip cropping go to Step 11).
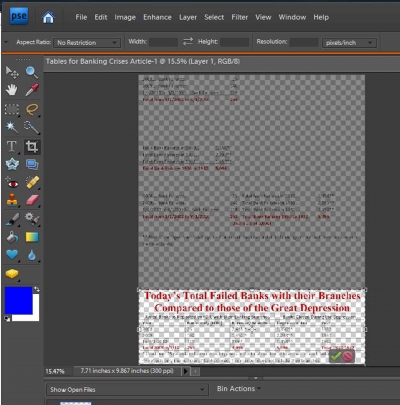
Step 10: Adjust the borders of the clear box in highlighted area when complete press the green check mark at the lower right hand corner when done.
Step 11: Then click on the file and select the “save as” option. (The “save” option overwrites the original file.)
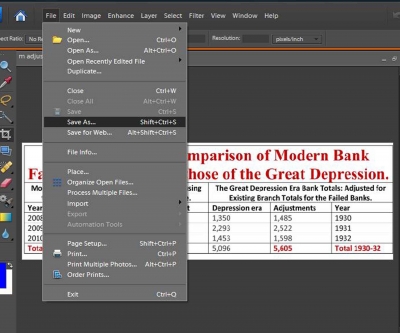
Step 13: Save the file as a JPG and pick or create a file name.
Step 14: All you need to do is upload it to your www.knoji.com work area and you are done.
Hope this helps.
All pictures used were self taken.